All of your volunteer data in Track It Forward is available through the Reports page and can be downloaded for your records. This article will walk through the customization options that are available for running reports.
To get started, go to Organizer Dashboard > Reports and select your preferred report type. This article discuses each Report Type in more detail if you're unsure which one is the best fit for your needs.
Step 1: Select your date range
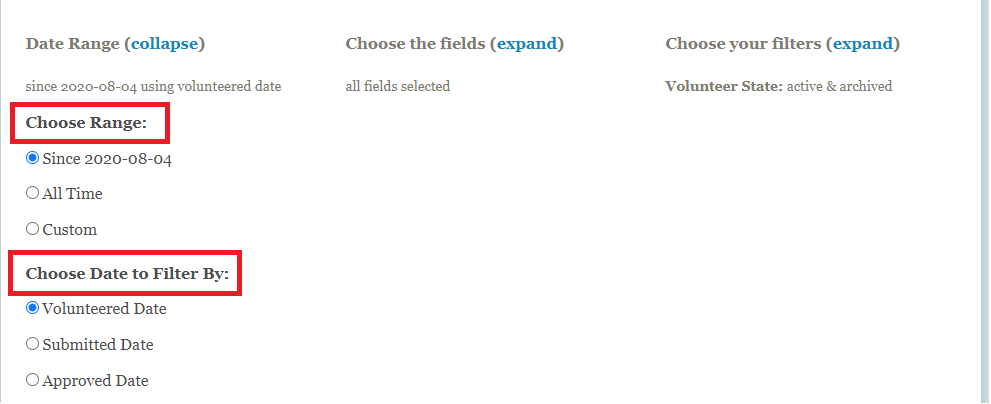
There will be 2 or 3 date ranges available, depending on your site settings:
Since XZY date: this option will only be available if you manually reset the Start Date for your site. The report will only include hours after that Start Date and will hide any historical hours
All Time: this option will include all hours since your site was created on Track It Forward.
Custom: this option can be used to customize the exact time period you need for your report.
There will also be 3 options for what date you want to use:
Volunteered Date: the actual day the volunteer completed the hours. This will be based on the date they added to the hour log when submitting their time.
Submitted Date: the day the volunteer logged their hours on Track It Forward.
Approved Date: the day the hours were approved by the site administrator.
Step 2: Choose the fields
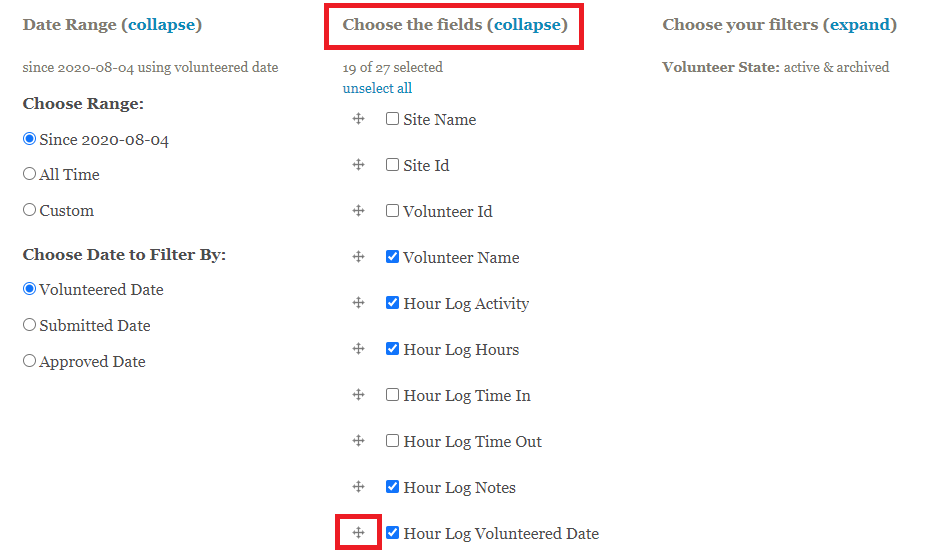
Next, you can customize the fields that you want to include in your export. By default, all available fields for the selected Report Type will be checked. You can uncheck fields you don't need or use the "unselect all" option at the top to clear the selection and then check the ones you need.
If you want to customize the way the fields appear in your export, you can use the arrow icon to the left of the field name to drag and reorder the field. (Ex. Click the arrows next to Volunteered Date and drag it to the top of list if you want the date to be the first column in your export).
Please note: All fields will not be available for all reports since some reports are designed to aggregate data.
Step 3: Choose your filters
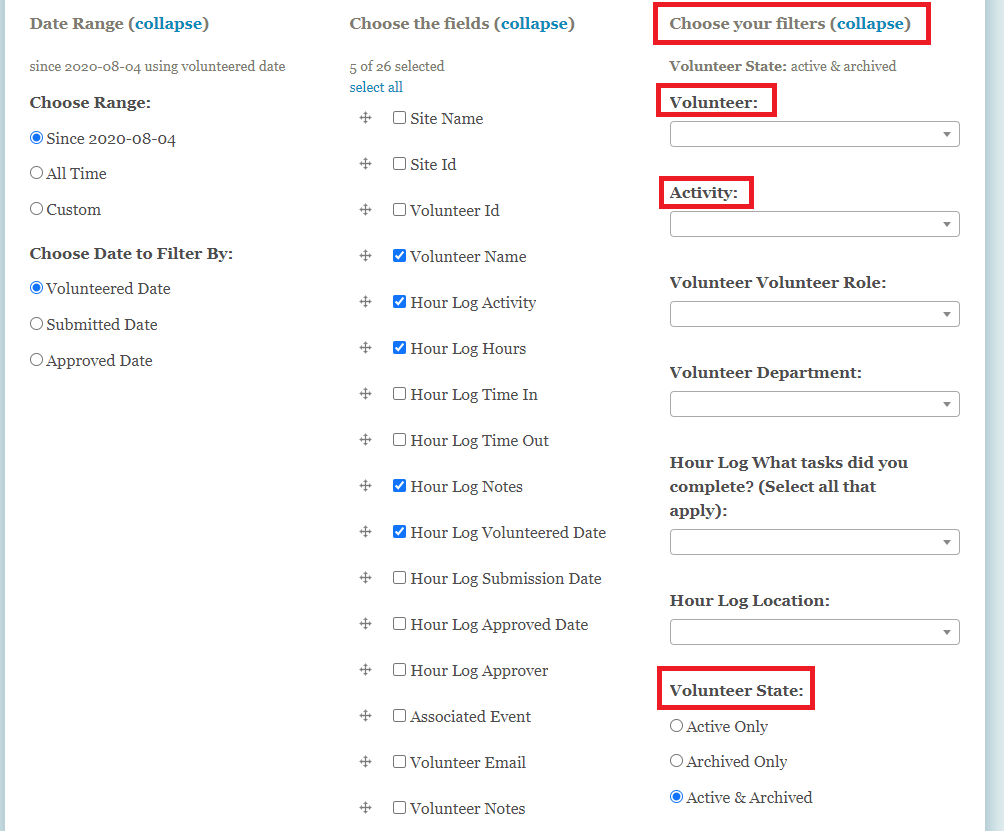
There are 3 default filters available for reports:
Volunteer: Filter your report for a specific volunteer(s) to only see results for select individuals.
Activity: Filter your report for hours related to a specific activity at your organization. (This term could also be listed as Organization or a custom term, depending on your settings).
Volunteer State: You can filter your report to include hours from all volunteers or limit it to Active or Archived only. You can also change the state to Pending Only to view volunteers currently pending new user approval and review their profile information.
Depending on your site settings, you may have other filters available for your reports. Filters will be available for profile or hour log fields that are created as drop downs, checkboxes, or radios.
Step 4 (Optional): Preview Report
After you've customized your report parameters, you can use the Preview button to see a snapshot of your results. The Preview is designed to provide a snapshot of your report results based on the current parameters. This is a great option is you're uncertain about the parameters needed for your report and want to double check your results. Please note: the Preview does not show total hours, it only provides a snapshot for reference.
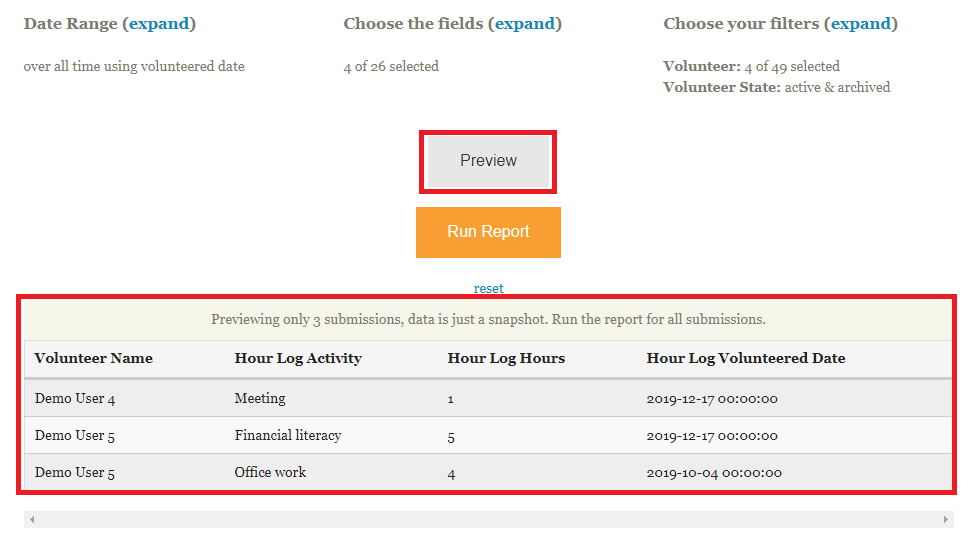
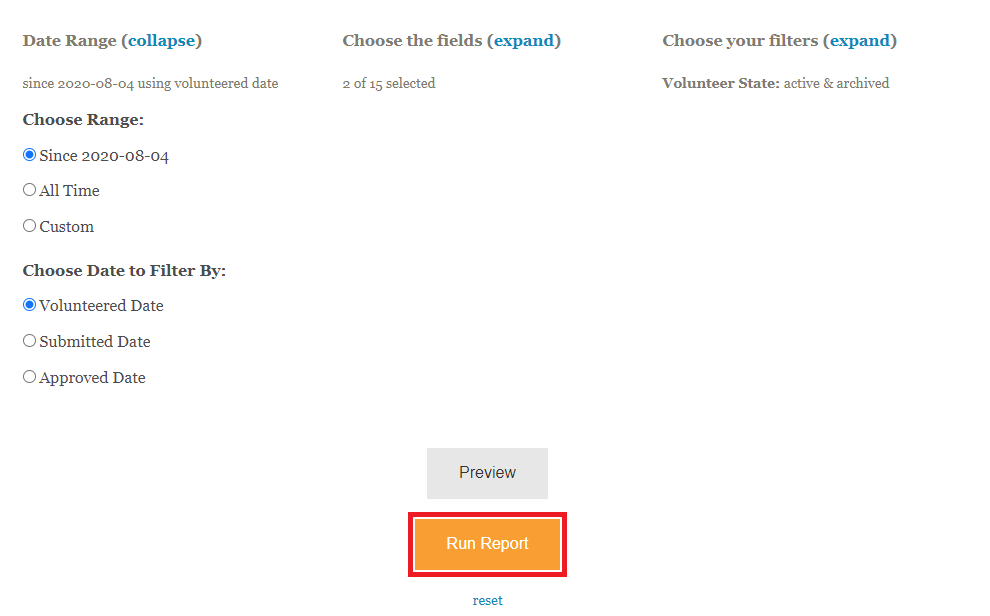
Step 5: Run Report
Once your report parameters are finalized, you can click Run Report to generate your results.
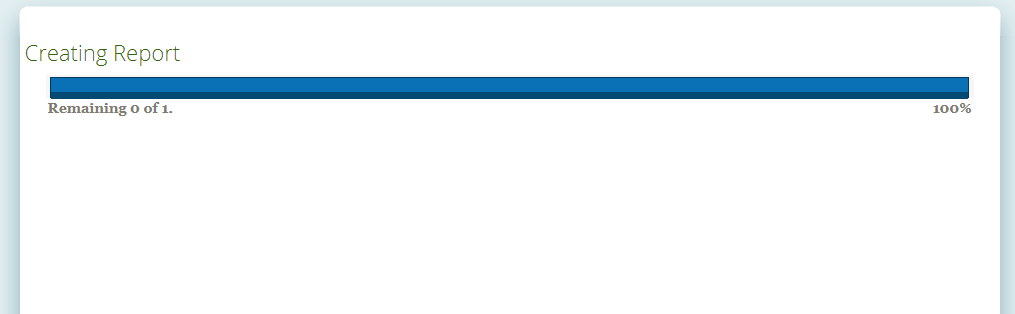
While the report is generating, you will see the progress bar updating. This process may take longer for sites were larger amounts of data to compile.
Once the report is done, you will be returned to the Reports screen. The file should download automatically, but you can also click "Download the last run report" if you don't see it. There is also an option for "Print the last run report" if you'd prefer to save the data as a PDF.
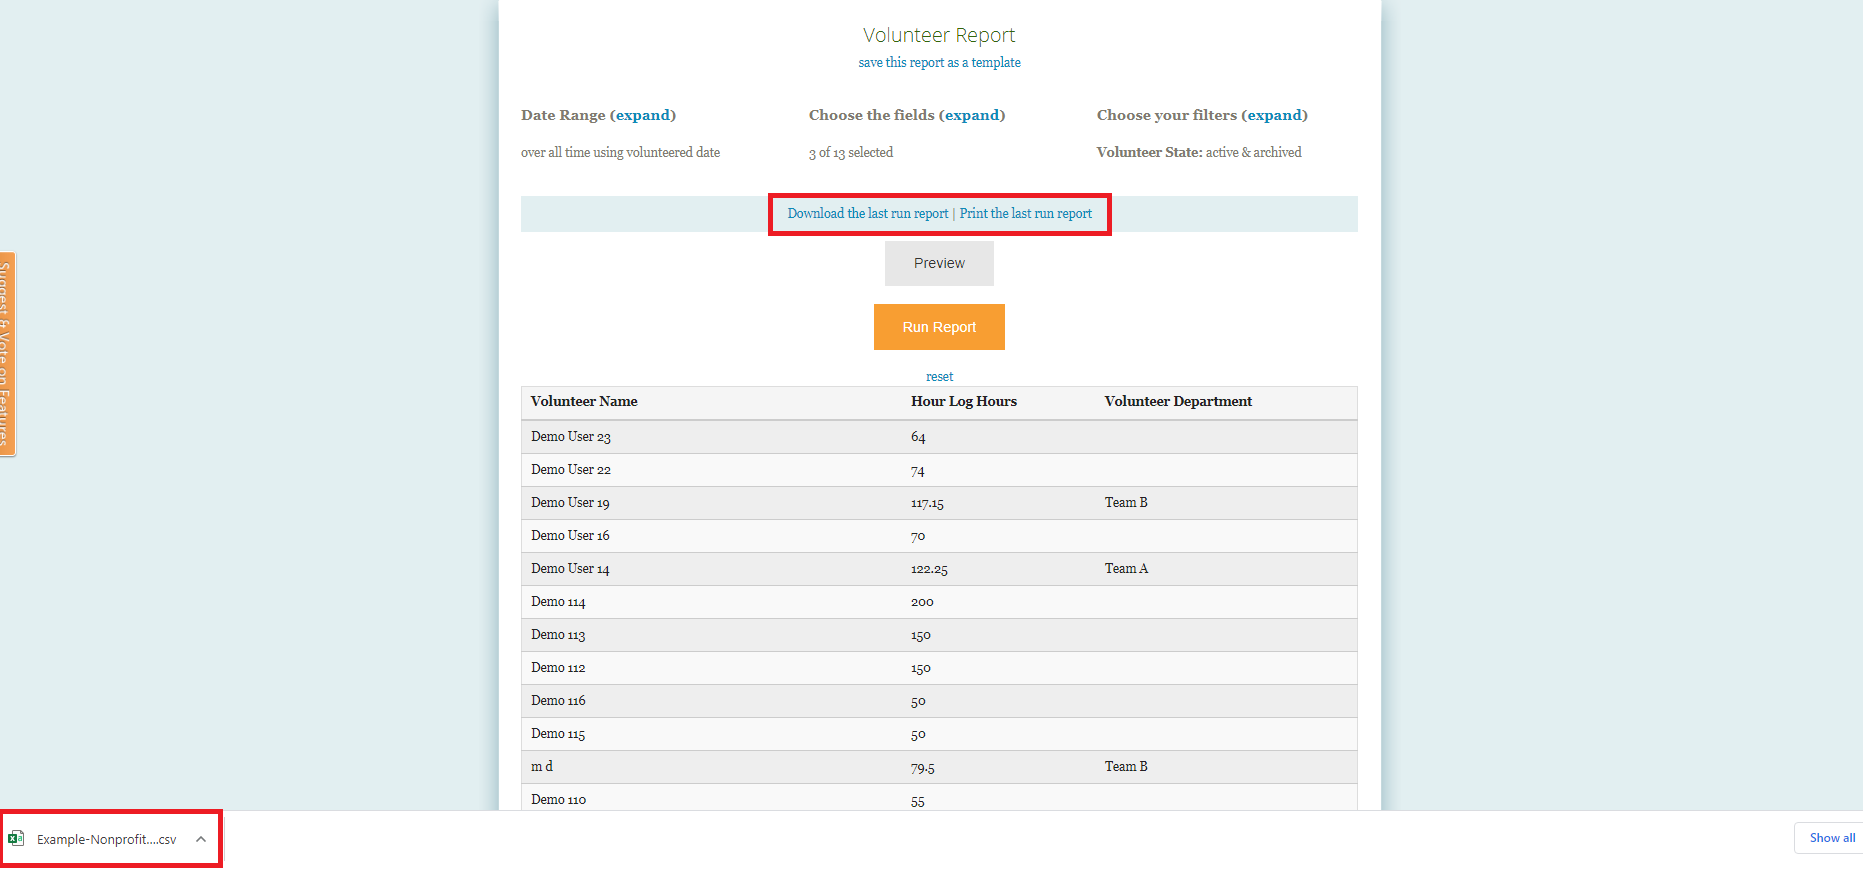
You will also see a summary table of your results that you can reference if you don't need the export. Please note: the summary table is not available for the All Hours report or the Volunteer & Activity report due to the amount of data.
Optional:
When you create a new report, you have the ability to save it as a template for future use. This is recommended if you typically run the same report on a regular basis since it will save your parameters for next time.
For more detail on report templates, check out this article.