

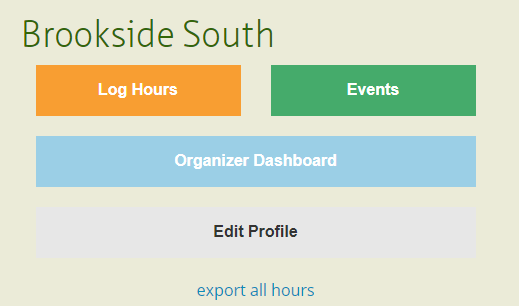
Track It Forward makes it easy to share upcoming opportunities with volunteers and easily schedule shifts and responsibilities! On your dashboard, go to Events
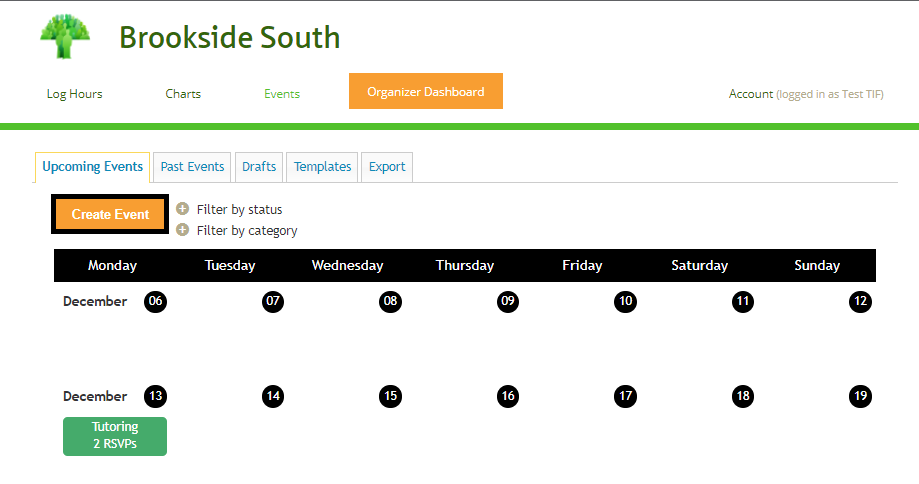
Click on the Create Event button
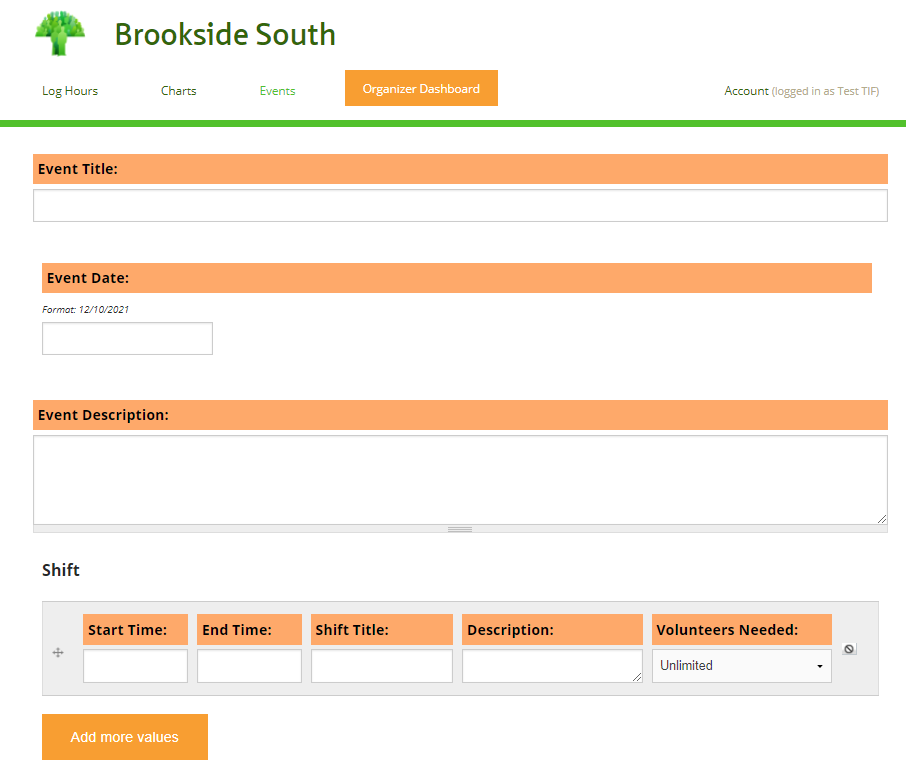
Choose an event title, date (optional), description (optional), shift times (optional), shift descriptions (optional), and available volunteer slots.
*If an event is created without a date, it will be listed as an ongoing opportunity.
Next, select if you want volunteers to associate hours from the event with a specific activity from the hour log. Select if you want the system to remind volunteers to log their hours after the event or if you want the Organizer to verify and log hours in bulk. Finally, select if you require volunteers to have a Track It Forward account.
If needed, add a Location and designated Contact for the event.
This will populate a still map image and an address link that volunteers can click on to open in Google Maps
The designated contact is designed as a place to list the person volunteers should reach out to with questions if it's someone other than the Event Organizer. Note: the Main Contact will not receive event updates or notifications.
Add registration dates - Advanced feature
On the Advanced plan, you can add custom registration dates:
Sign-ups Open
Sign-up Deadline
Cancellation Deadline
By default, these are set to When Published for Sign-ups Open, and No Deadline for Sign-Up Deadline and Cancellation Deadline.
You can customize these registration dates to either a specific date/time, or by a relative day.
Note: It's recommended that you use the Relative Date option if you plan on duplicating this event.
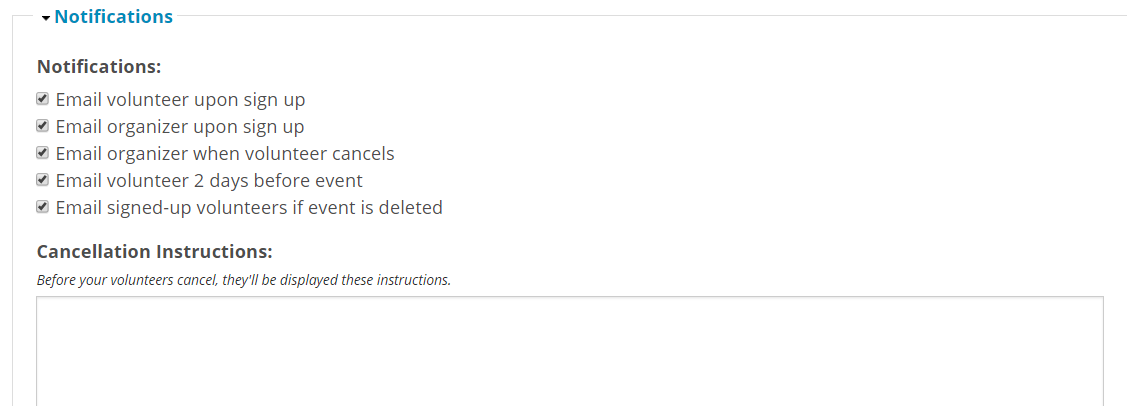
If needed, adjust the notifications from the system
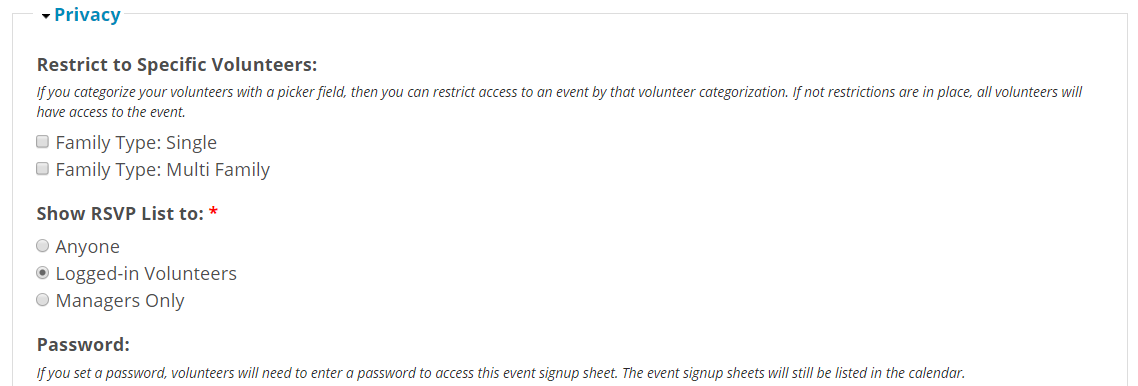
If needed, use the Privacy section to restrict visibility of events to certain volunteers.
This is also where you can adjust visibility of the RSVP list and set a password for the event signup sheet.
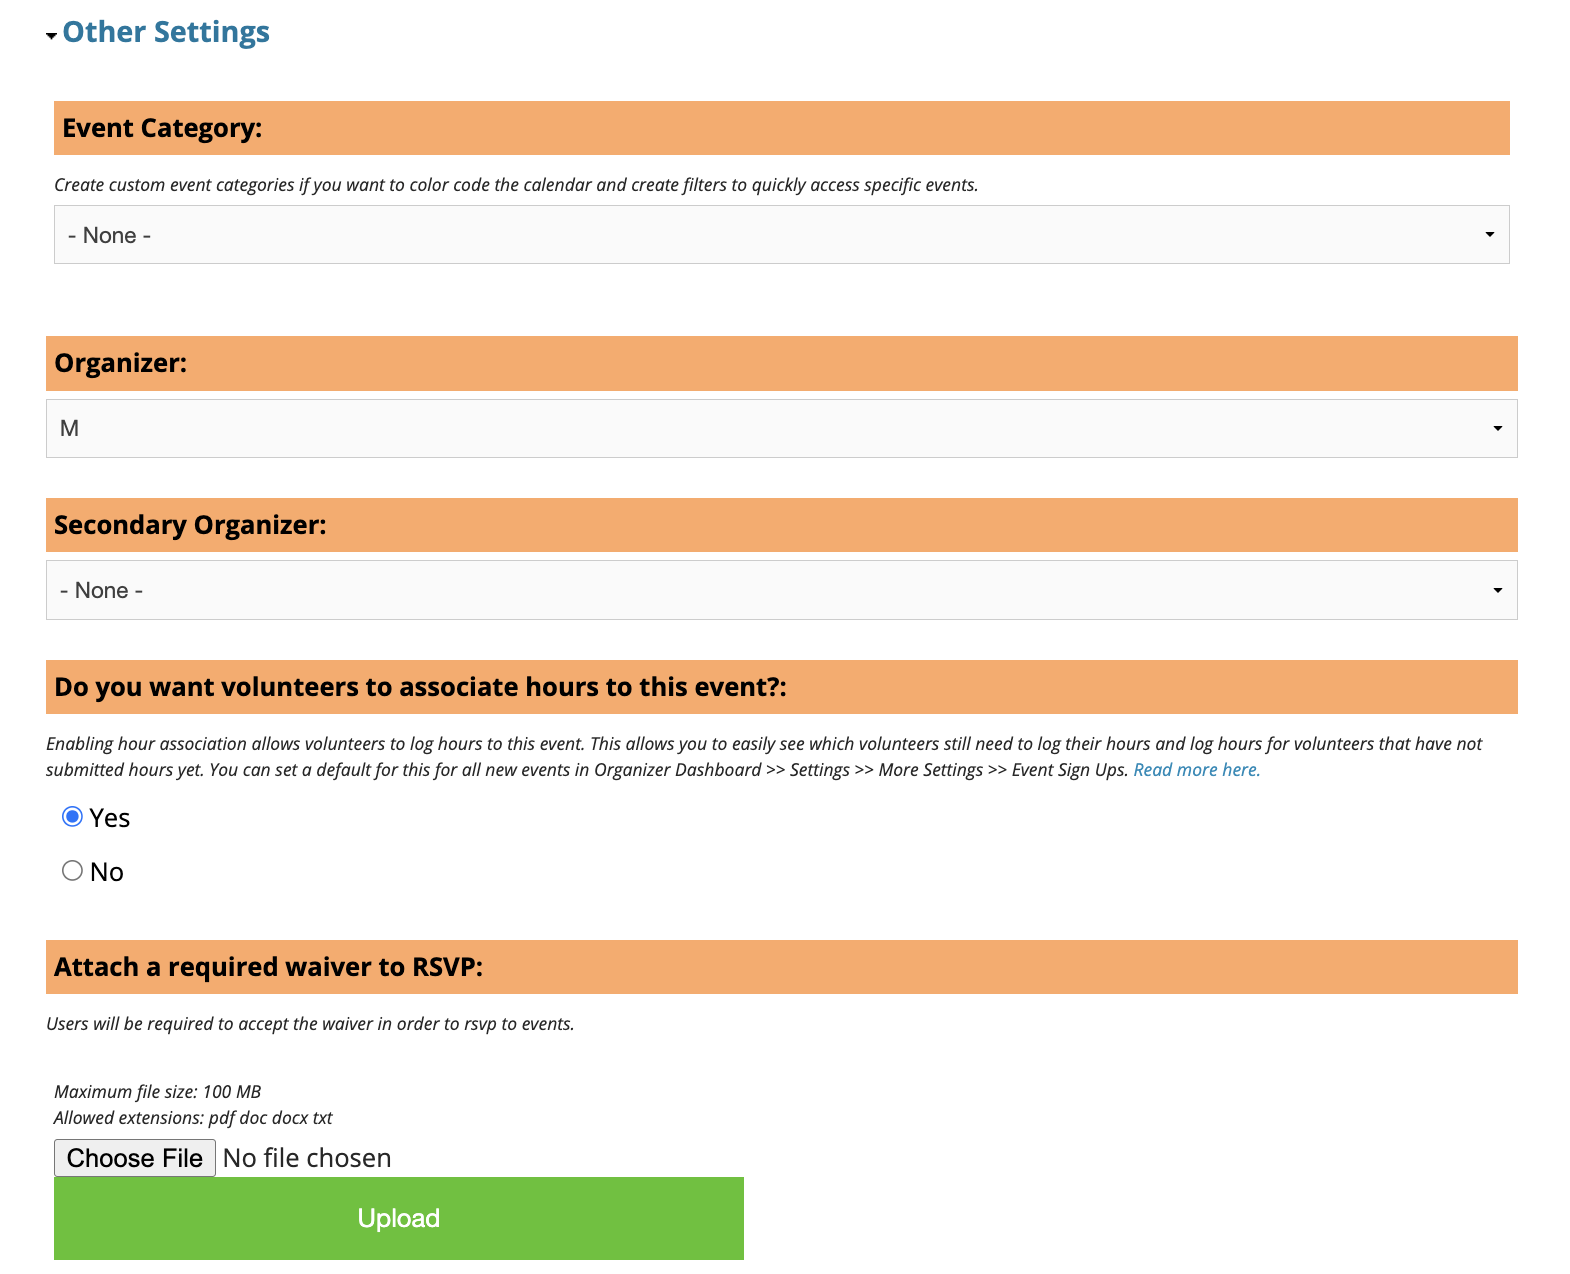
If applicable, select an event category
(it will be color coded for volunteers on the calendar). You can also change the organizer if you are creating the event on behalf of someone else. If you are not ready to publish the event, you can set the workflow for a Draft or Template. Finally, you can select if you want volunteers to associate hours to this event.
Finally, set your event Status
By default, you event is set to Publish when you save your event. You can change this this Status to Draft, Template, or Scheduled if you wish.
When you select Scheduled, you can set it as a specific date/time, or by a relative day before the event.
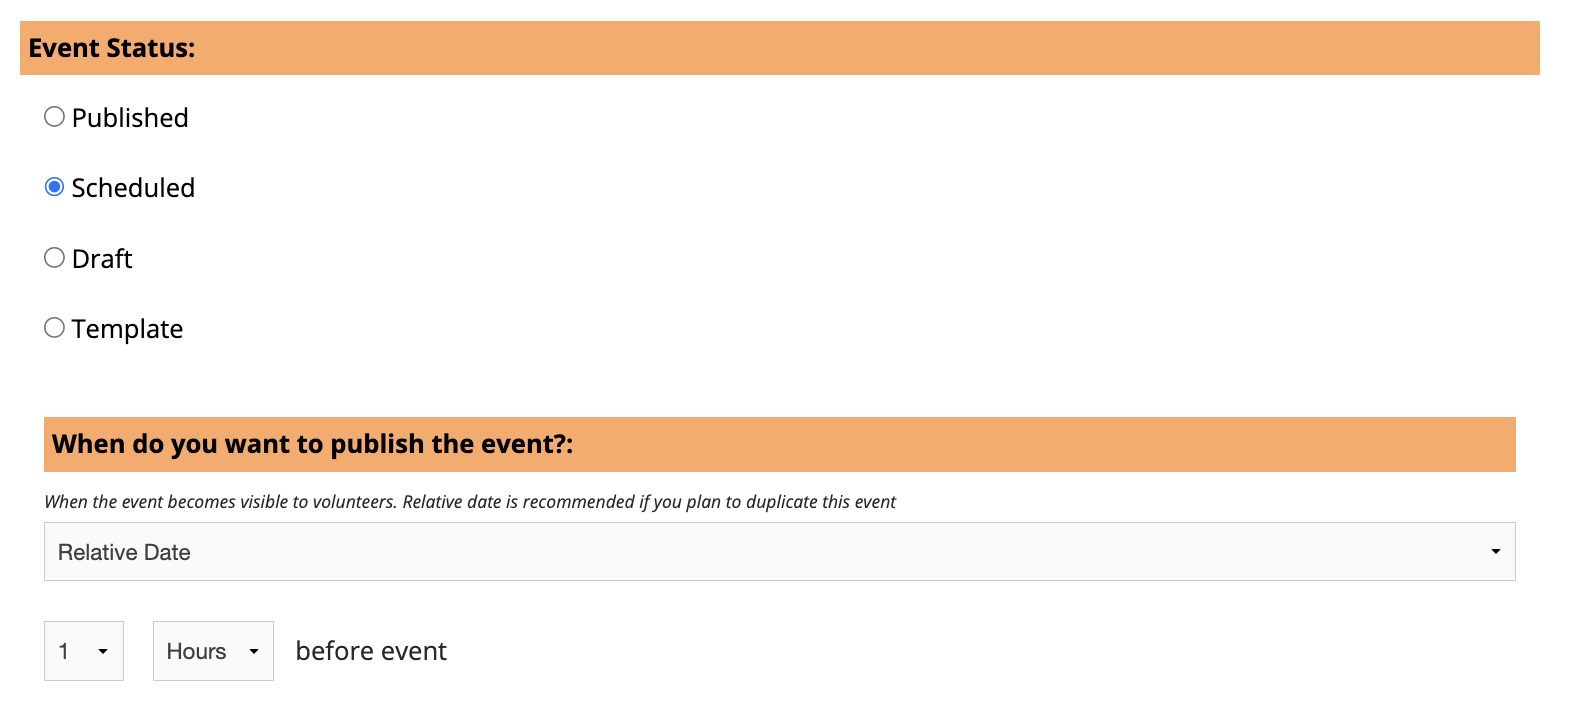
Note: It's recommended that you use the Relative Date option if you plan on duplicating this event.
When you're done, click Save! Next, learn how to manage an existing event and spread the word for your volunteers!
Interested in additional capabilities through the event calendar? Check out our Suggestion Forum to vote and comment on new ideas!