Each Track it Forward organization can customize the volunteer profile to gather additional details about users. This can make it easy to run custom reports, send targeted emails, or track conditional requirements.
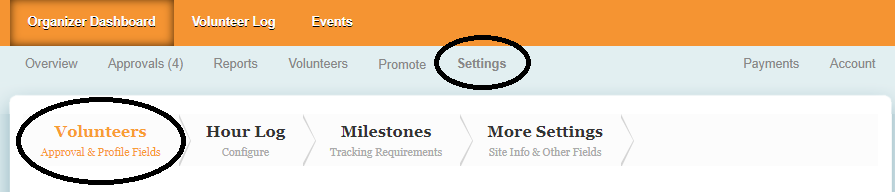
Changes can be made to the volunteer profile by going to your Organizer Dashboard and then click on Settings to access the Volunteer Profile settings.
Approval Settings
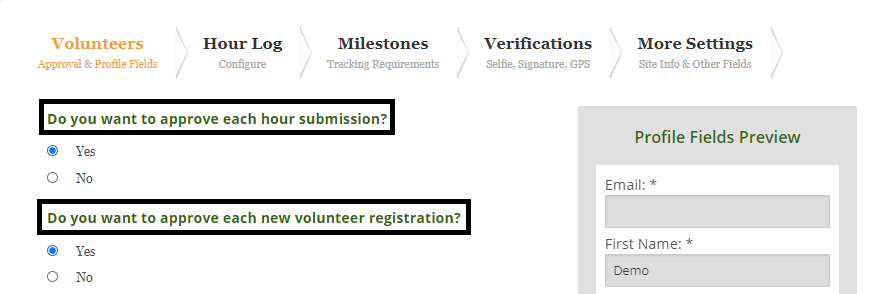
From this tab, you can customize the approval settings for hours and volunteers, depending on what works best for your program.
Approve hours (Premium feature): If you select Yes, all hours will be sent to an approval queue so an administrator can review them and then decide to approve or reject the submission. If you select No, all hours will be approved automatically when a volunteer submits them.
Approve new volunteers: If you select Yes, all users who self-register will be considered "pending" until they are approved by an administrator on the site. If you select No, volunteers will be approved automatically without notifying the site administrator.
Add New Fields
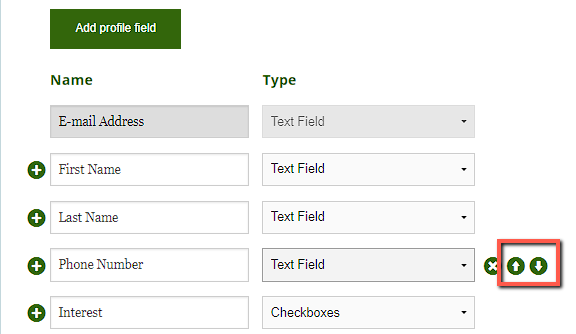
Each organization can customize the fields they want to include on the volunteer profile. To add a new field, click the button Add Profile Field.
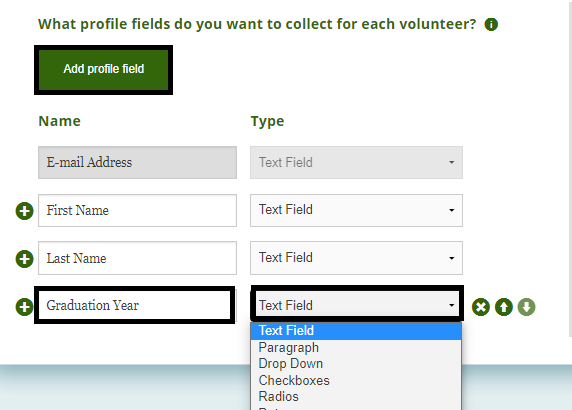
Next, enter the name of your field (Ex. Graduation Year) and then select the type of field you want to use (Ex. Drop Down). The following field types are available:
Text Field: limited space for text, best for short responses
Paragraph (Premium): Memo box for multiple lines of text, best for long responses
Drop down (Premium): List of preselected options, volunteers can select one
Checkboxes (Premium): List of preselected options, volunteers can select multiple
Radios (Premium): List of radio button options to choose one from
Date (Premium): Date field in the following format - MM/DD/YYYY
Profile photo (Premium): Upload a profile photo to help administrators get to know their volunteers
File (Advanced): File upload field where volunteers can add photo or file
Please note: In many cases, we recommend using a Drop Down field whenever possible. It offers the greatest compatibility with other website features, such as filtering reports, setting event privacy, and creating conditional milestones for specific volunteer segments.
Field Settings
For each volunteer profile field, you will see a green + sign on the left side. This will expand to show you additional settings that are available for each field.

Description: short text to help your volunteers understand the field
Required: Volunteer won't be able to submit until that field is filled out
Display Name: If you want the volunteer's name listed by this field (Ex. You may want volunteers list by Last Name only or First Name, Last Name, Graduation Year)
Organizer Only: This restricts the field to administrators only, it will not appear on the volunteer's perspective. (Ex. The organizer might track if dues have been paid for the year)
Collapsed: The field will be collapsed until they are expanded
Grouping (Premium): Allow multiple volunteers to work together toward one requirement by creating a grouping field on the profile.
Ex. 2 parents have separate user account, but are contributing to the Household Requirement of 40 hours. The profile field for (Family ID) could be used as a grouping field to match up parents in the same family.
Managing Profile Fields
Remove a field: Hover over the field and click the "X" icon on the right
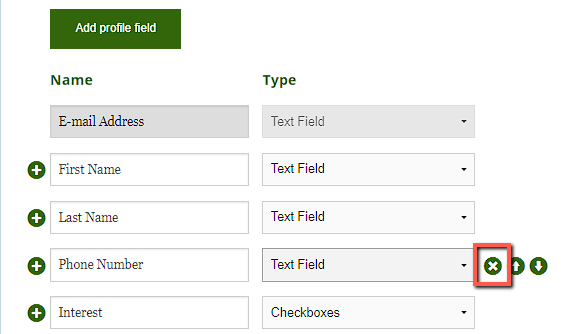
Reorder field: Hover over the field and click the "Up" or "Down" icons to adjust the order.
As you configure these fields, there is a live preview box that updates as you enter changes so you can see what your volunteers will see as they fill out the profile.